Now I have a boat to look at
Eventually, I will post a complete list of offsets/dimensions for my new skiff. Beyond the numbers, there are two details that I consider important to achieving a good result. 1) The listed longitudinal location of each frame is for the side closest to the center of the hull. The reason for this is that the center is the widest point. When fairing the hull, you preserve that dimension on the center-facing frame surface and taper the other side of the frame. 2) After plotting all the listed offsets for a frame, connect the dots using a fair batten or a French curve. Do not use straight lines if you want a nice smoothly curved hull surface. Then, when actually planking the hull, create a flat landing surface for each plank as it is adapted to the hull. This will provide stable adaptation with better bonding.
I used two-inch-wide planks because that is the thickest that my saw will cut and the widest that most of my clamps will span across. Two-inch planks are difficult (or impossible) to edge-set, but more surface is covered by each plank. Narrower planks will be easier to cut and easier to edge-set when needed. Thinner stock may also be easier to obtain. If using narrow, i.e., 3/4-inch planks, the curved frame edges may not need to be modified for plank landing (the curvatures are not significant over such a short distance)
Planking completed. The hull is 13 feet, 5 inches long. The beam when completed will be 46.5 inches. Ideally, I think a more usable length would be a foot longer. This is the shortest hull I have ever built. One reason I used the shorter length was a test for planking. A longer hull will have milder curvature and planks should adapt more easily.
Before planking, a commenter called this a "flat-bottomed" boat. Only the 10.5-inch-wide keel is flat (and tapers at the ends).
Stern view. The lowest point on the transom is 5.5 inches above the keel. No finishing has been done yet.
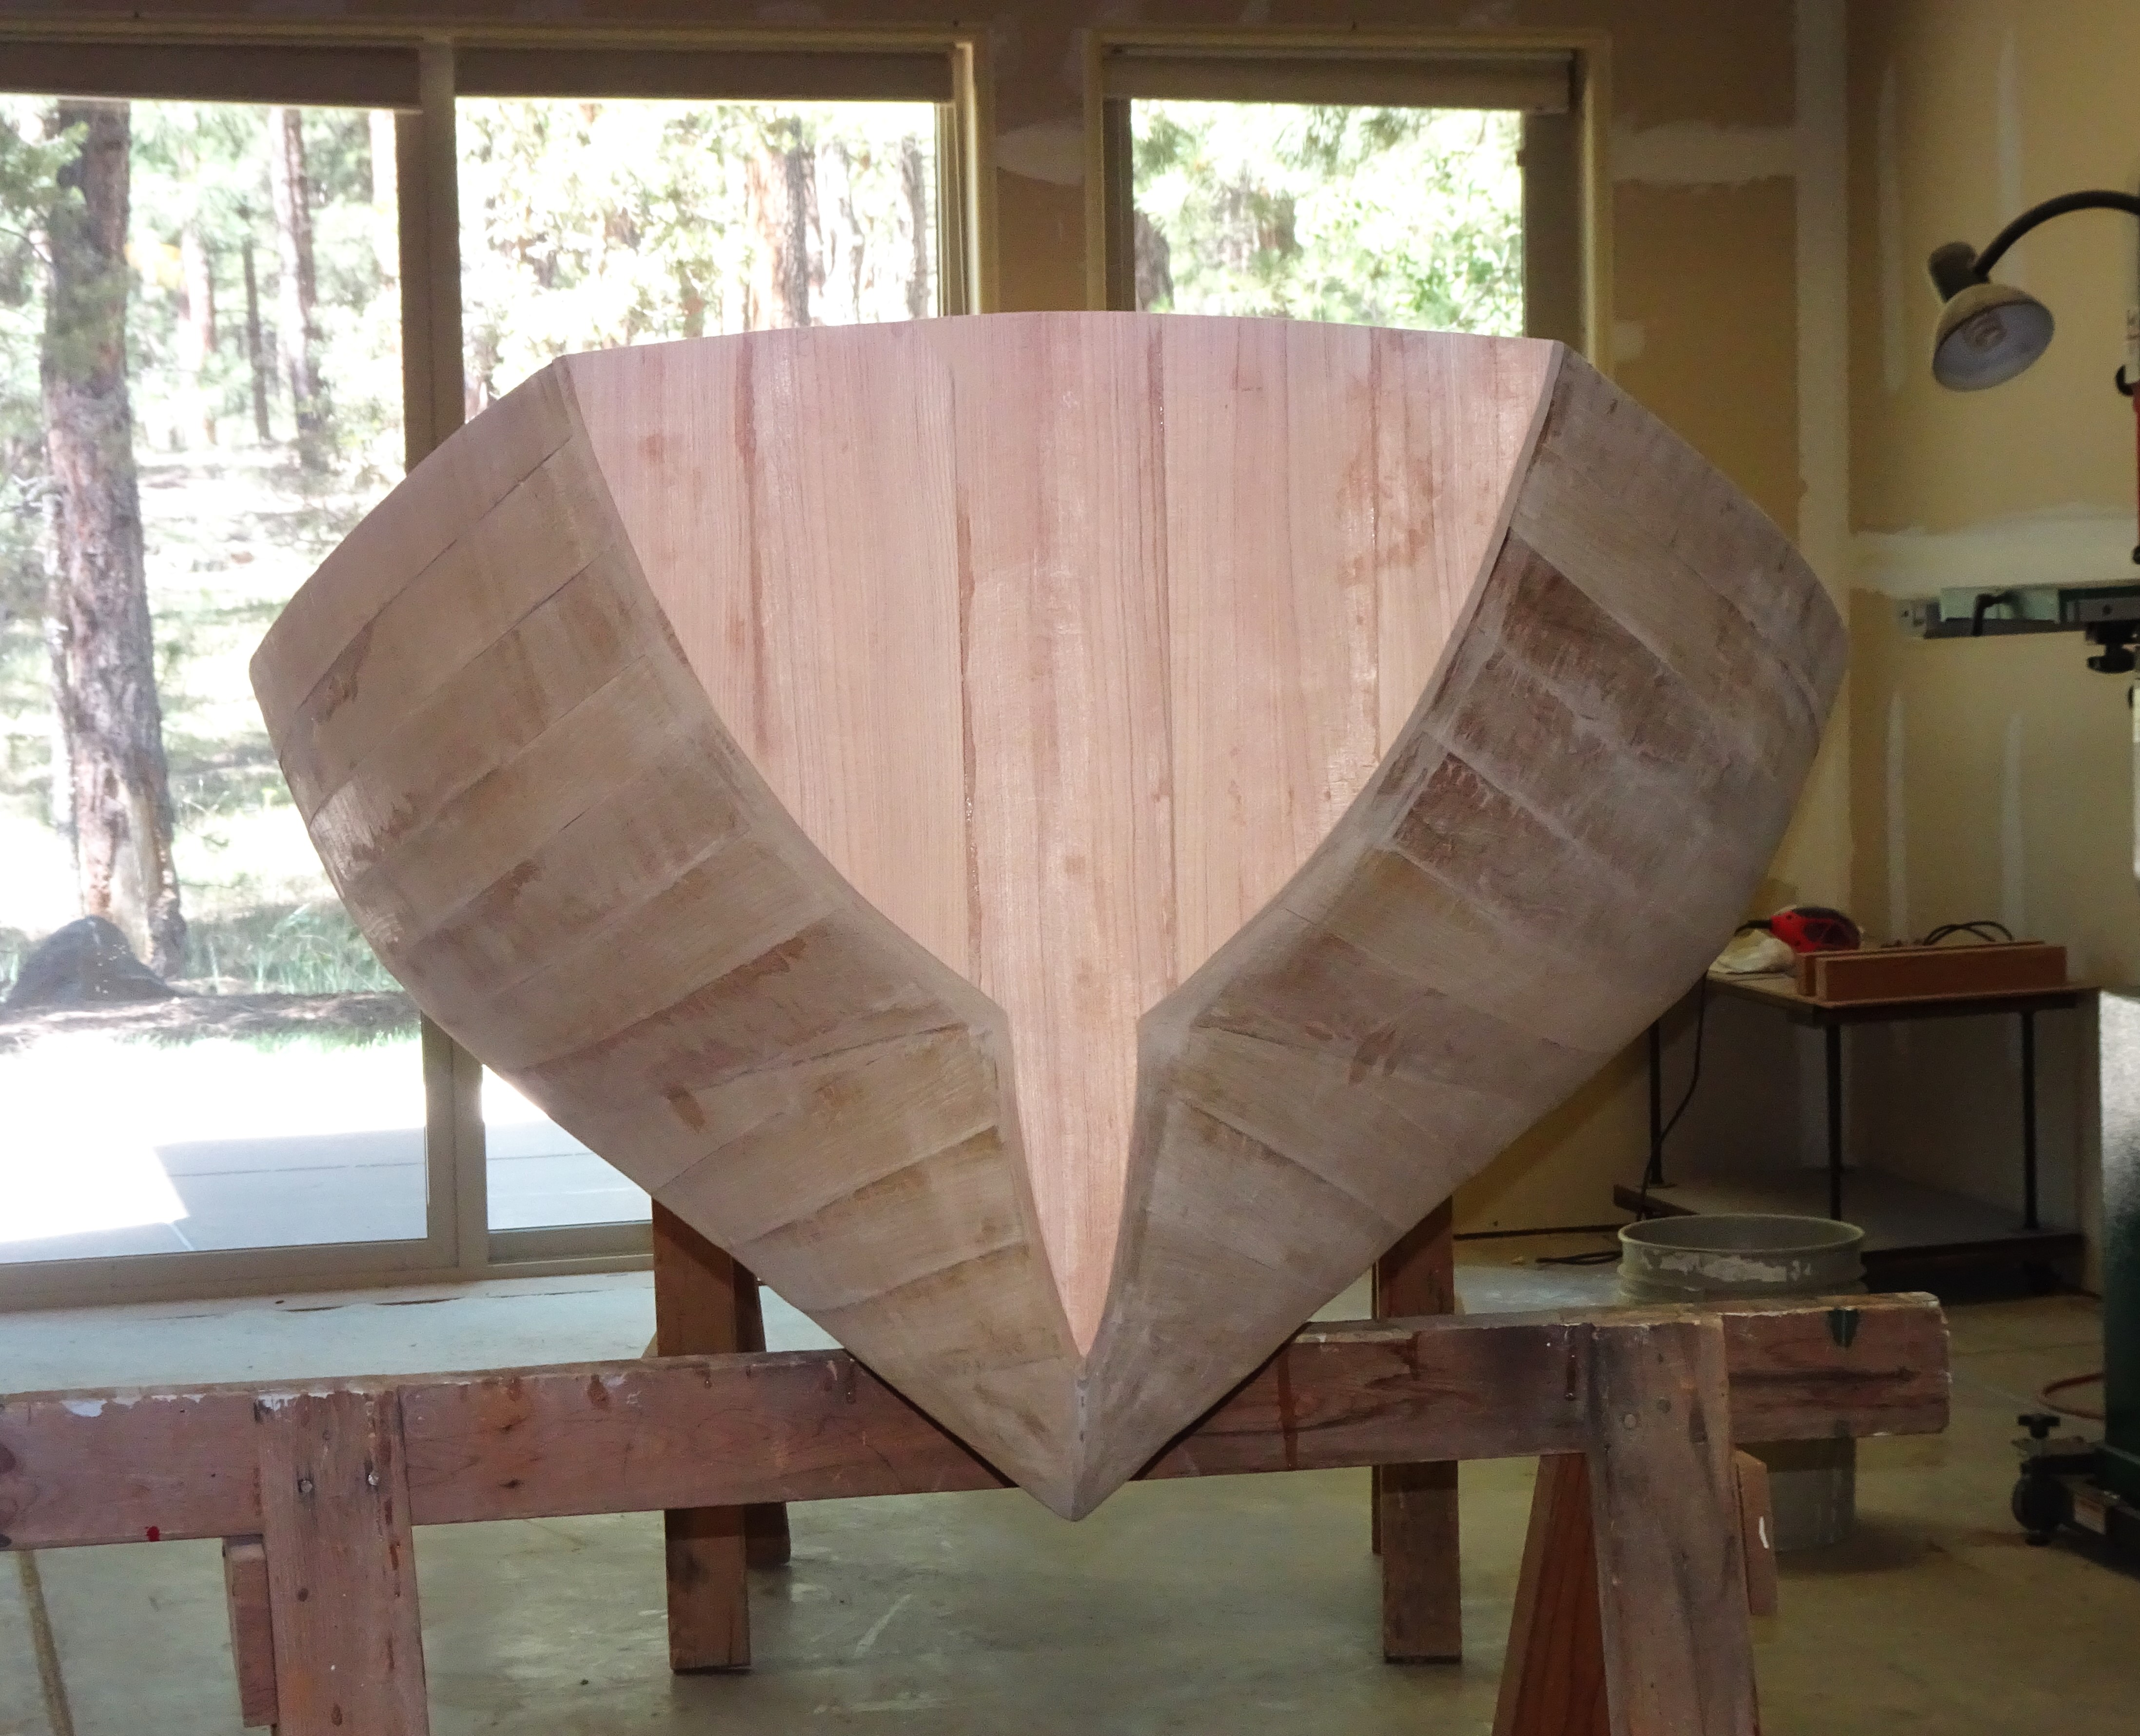
Bow view. This hull has slightly more rocker than previous similar hulls. By doing so, the stress in planking is spread out and reduced. I wonder if this isn't the reason that classic Adirondack guideboats have upward arching ends?
After planking was complete, I mixed epoxy resin with a fine filler until I got a non-runny, heavy-syrup-like mix and then spread it with a flexible squeegee over the entire planked surface to fill in any seams or other discontinuities. Then it was time to sand.
This technique did not work out so well. Better to wet the edge of each planked surface with fresh resin before adding the next plank. I discovered this when 3-4 months after planking, narrow cracks started showing up due to wood contraction during the cold dry winter. This did not happen where resin had initially been applied to the plank edges.
It needs another coat of varnish on the interior, and then I start on the small fore and aft decks. Would those small decks look good painted white? I used Hatteras off-white.
The small end decks are completed, and the oarlocks are installed. Only the seats need to be added. They will be removable units with a footrest included.
The boat is small enough to be potentially cartoppable, but it would not be convenient. Looking for trailers, I found that those built for light weight boats tended to include the phrase "for boats up to 14' in length". A longer boat would perform better on the water, but transport and storage favor the shorter length. The original numbers I used in designing this boat were for a boat a foot longer, but then I reduced the spacing of the ribs to this length. The new hull empty weighs 86 pounds.


1 Comments:
Nice blog! Such a beautiful yacht design. I love all of these designs.
yacht charter dubai
Post a Comment
<< Home